

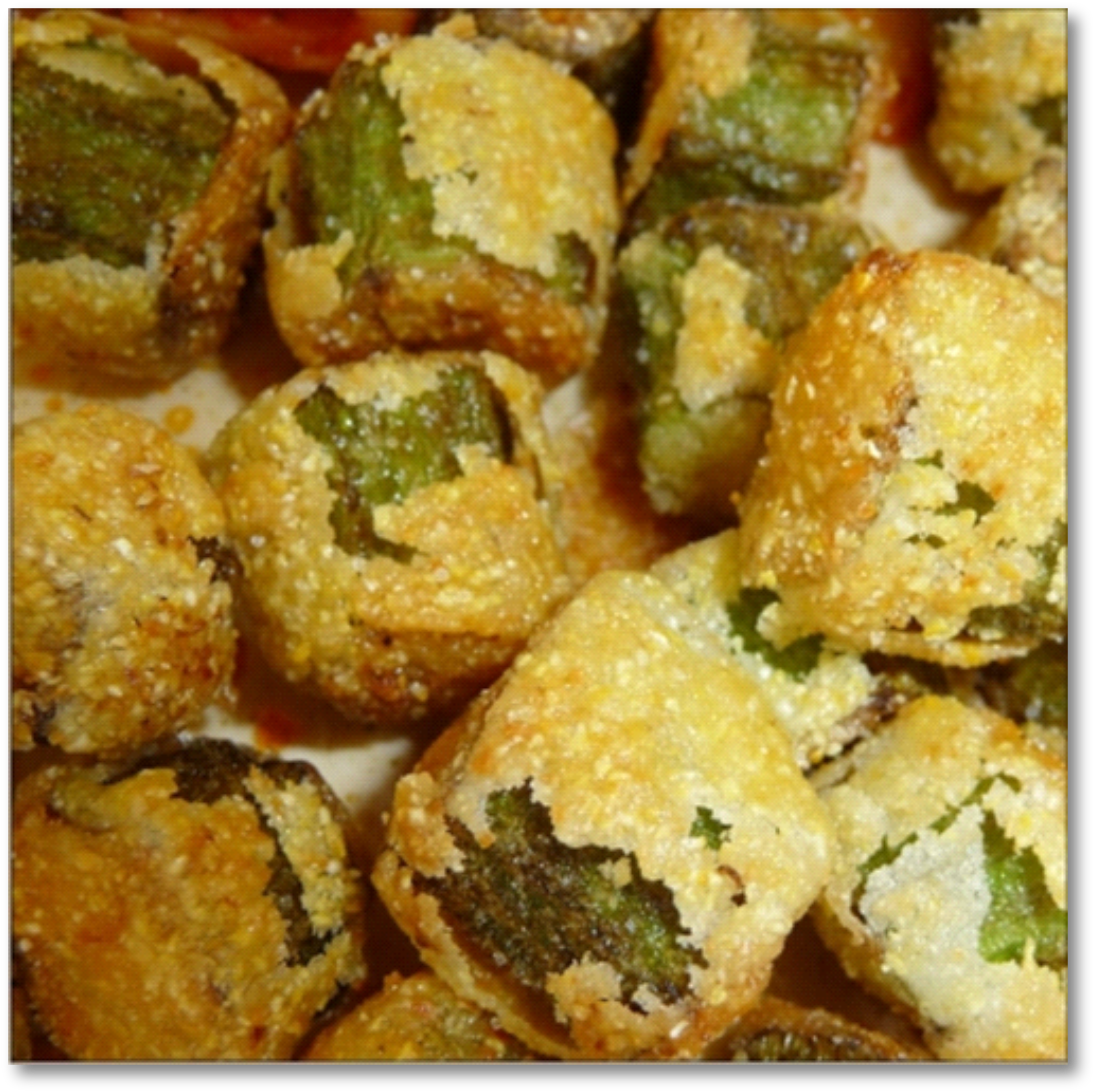
In the south, there’s nothing like crispy fried okra as a side dish for summer barbecue cookouts. I live in Florida, so summer starts in March or April… and outdoor cooking takes place pretty much year-round. The growing season starts early here, too. When I came across baskets full of fresh okra at the St. Petersburg Saturday market in the spring, I decided to see if I could duplicate my southern-born hubby’s magical recipe for crispy fried okra.
Crispy fried okra is NOT slimy
I cooked fried okra for the very first time on Sunday, April 13, 2014. My son said it tasted just like his dad’s recipe… and that made me prouder than you could ever imagine. My husband was a wonderful cook; I mostly chopped veggies.
Crispy fried okra is a favorite Southern side dish… as well as a fun finger food. This recipe was my southern hubby’s and it’s guaranteed non-slimy.
Servings: 4
Prep time: 15 minutes
Cook time: 10 minutes
Ingredients:
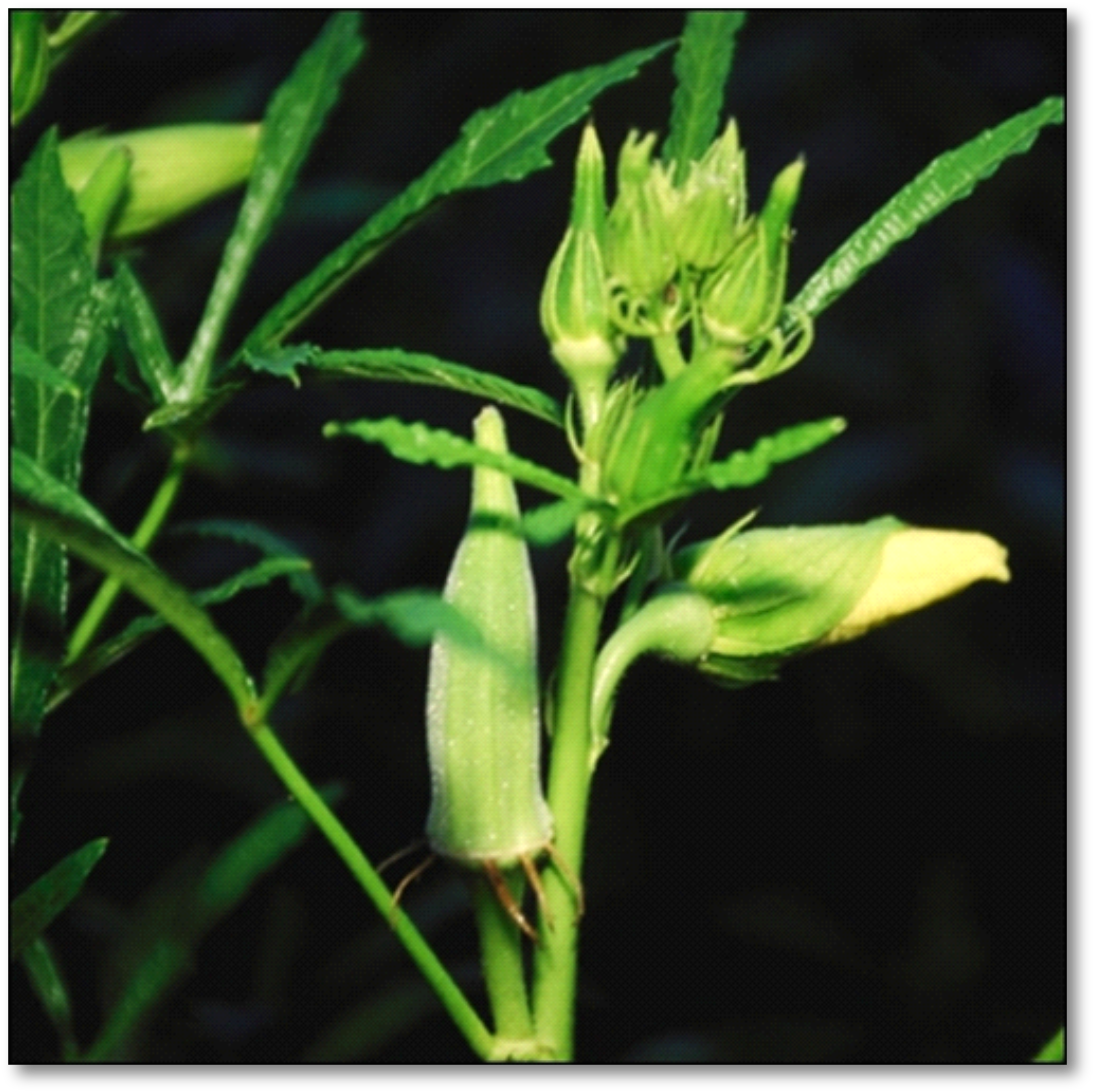
- 1 lb. okra pods… 3-inch pods are more tender
- 1/4 – 1/2 cup cooking oil. I used peanut oil
- 3/4 cup yellow cornmeal
- 1/4 cup all-purpose flour
- salt and pepper
Instructions:
- Cut okra into pieces about 1/2 inch in length (the ends are a bit woody, so be generous in what you remove there). If any of the pods feel tough or dry when you slice into them, consider freezing those pieces for soup… they won’t be very tender as a quick-fry.
- Rinse the okra well in a colander, to remove much of the “slime” (it’s actually mucilage).
- Heat oil (about 1/2 inch in depth) in a large skillet.
- Combine the cornmeal, flour, salt, and pepper in a paper bag or bowl.
- Toss in your sliced okra a few at a time and coat evenly. Store on a plate until they’re all coated.
- Using a large slotted spoon, drop the okra carefully into the hot oil. I used a 12″ frying pan, so I made mine in a single batch.
- Cook until the undersides have browned lightly.
- Then you can gently stir the okra pieces around in the oil, turning them over every so often for even cooking.
- When they are browned on all sides, remove them from the oil with your slotted spoon and place on paper towels.
- Sprinkle with salt to taste.
- If you need to make more than one batch because of the size of your fry pan, add more oil to the skillet before you cook more okra.
- Serve piping hot.
Frying Tip
If you use a frying pan with fairly high sides, you’re less likely to have an issue with oil splashing onto the stove. And probably won’t need a splatter screen, either.
