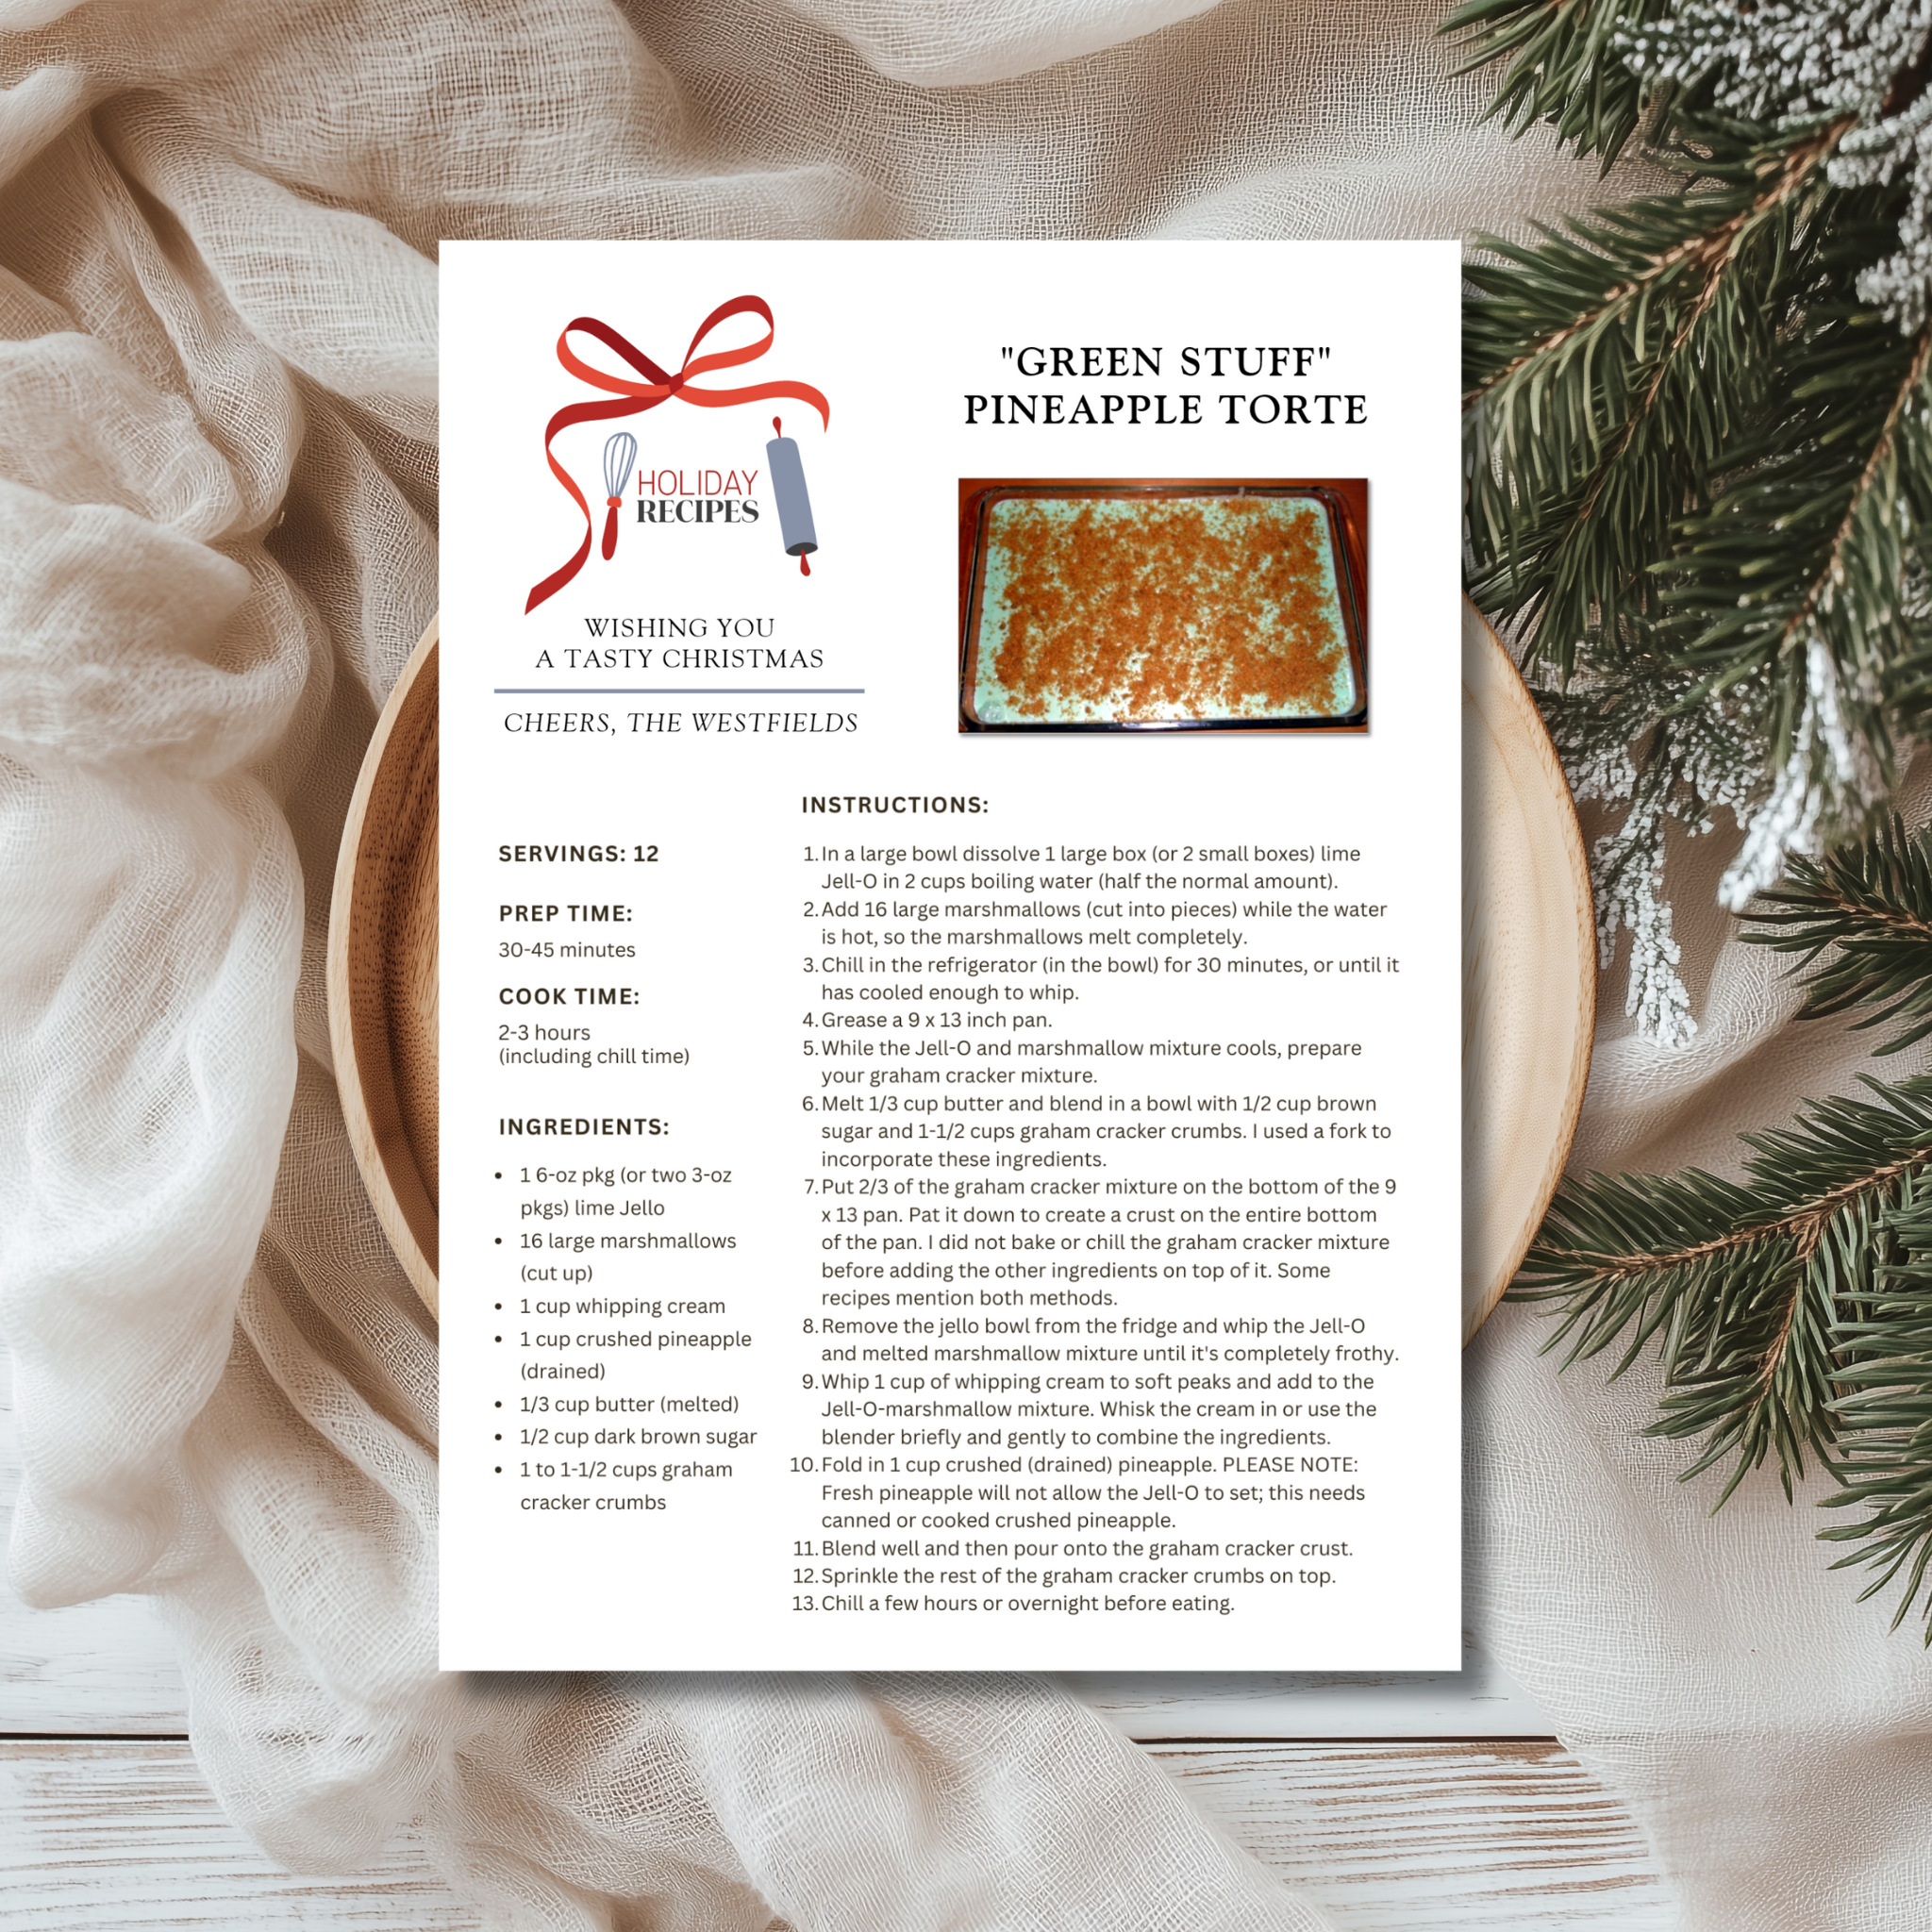
My family’s favorite holiday dessert for Thanksgiving and Christmas was a fresh-tasting pineapple lime jello confection we always called “Green Stuff”
For special occasions, my mom made a delicious dessert we called “Green Stuff.” I never knew its real name.
But I remembered that it contained lime jello, crushed pineapple, whipped cream… and marshmallows. Happily, my sister found the recipe and I learned how to make this memorable dessert in time for Christmas a few years ago.
It’s a wonderful recipe for potlucks and holiday meals. A single recipe delivers many, many servings, you see. Light and refreshing after a big meal… and feeds a multitude.
My research into the name of this wonderful no-bake confection led me down a few side roads, including someone else’s quest for a 1950s recipe that sounded very similar to my mom’s. Not one of the recipes I came across matched my mother’s, but it seems there were a lot of people who recalled a holiday treat from decades ago known as “Green Stuff.”
So here it is, the recipe that my mom probably cut out of a magazine in the 1950s or early 60s and that graced the Christmas dessert table many years running. You see, we loved this dessert so much, we always asked her to make “Green Stuff” for special meals. Let’s see if this recipe rings any bells for you. Or perhaps you’re more familiar with one of the alternatives… there are quite a few. I just couldn’t find one exactly like my mom’s.
Green Stuff was always our favorite Christmas dessert
My sister and I remember this dessert from our childhood and we’re both in our later 70s now, so that’s how long it’s been around in our family.
The first time I made this dessert, I got the flavor right but not the lightness. My second attempt came out FABULOUS.
I hope you enjoy this classic dessert as much as our family has over the years.
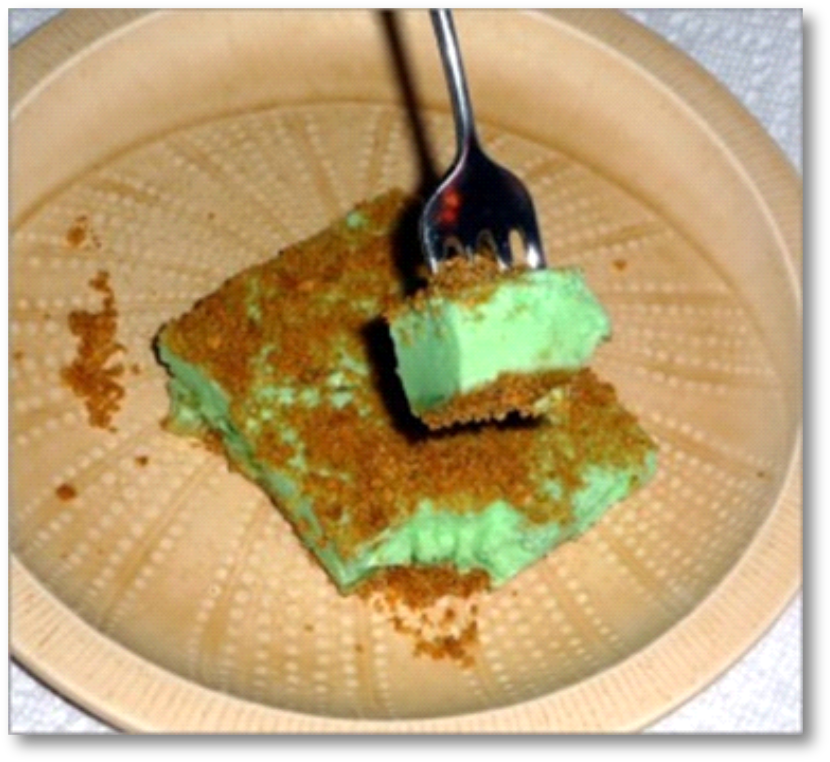
Green Stuff… ready for eating
Servings: 12
Prep time: 1/2 to 3/4 of an hour
Cook time: 2-3 hours (includes chill time)
Ingredients:
1 6-oz pkg (or two 3-oz pkgs) lime Jello
16 large marshmallows (cut up)
1 cup whipping cream
1 cup crushed pineapple (drained)
1/3 cup butter (melted)
1/2 cup dark brown sugar
1 to 1-1/2 cups graham cracker crumbs
Instructions:
In a large bowl dissolve 1 large box (or 2 small boxes) lime Jell-O in 2 cups boiling water (half the normal amount).
Add 16 large marshmallows (cut into pieces) while the water is hot, so the marshmallows melt completely.
Chill in the refrigerator (in the bowl) for 30 minutes, or until it has cooled enough to whip.
Grease a 9 x 13 inch pan.
While the Jell-O and marshmallow mixture cools, prepare your graham cracker mixture.
Melt 1/3 cup butter and blend in a bowl with 1/2 cup brown sugar and 1-1/2 cups graham cracker crumbs. I used a fork to incorporate these ingredients.
Put 2/3 of the graham cracker mixture on the bottom of the 9 x 13 pan. Pat it down to create a crust on the entire bottom of the pan. I did not bake or chill the graham cracker mixture before adding the other ingredients on top of it. Some recipes mention both methods.
Remove the jello bowl from the fridge and whip the Jell-O and melted marshmallow mixture until it’s completely frothy. (My mom’s recipe just said, “Whip well” and the first time I made this dessert, I didn’t froth it up enough. See picture below for frothiness.)
Whip 1 cup of whipping cream to soft peaks and add to the Jell-O-marshmallow mixture. Whisk the cream in or use the blender briefly and gently to combine the ingredients.
Fold in 1 cup crushed (drained) pineapple. PLEASE NOTE: Fresh pineapple will not allow the Jell-O to set; this needs canned or cooked crushed pineapple.
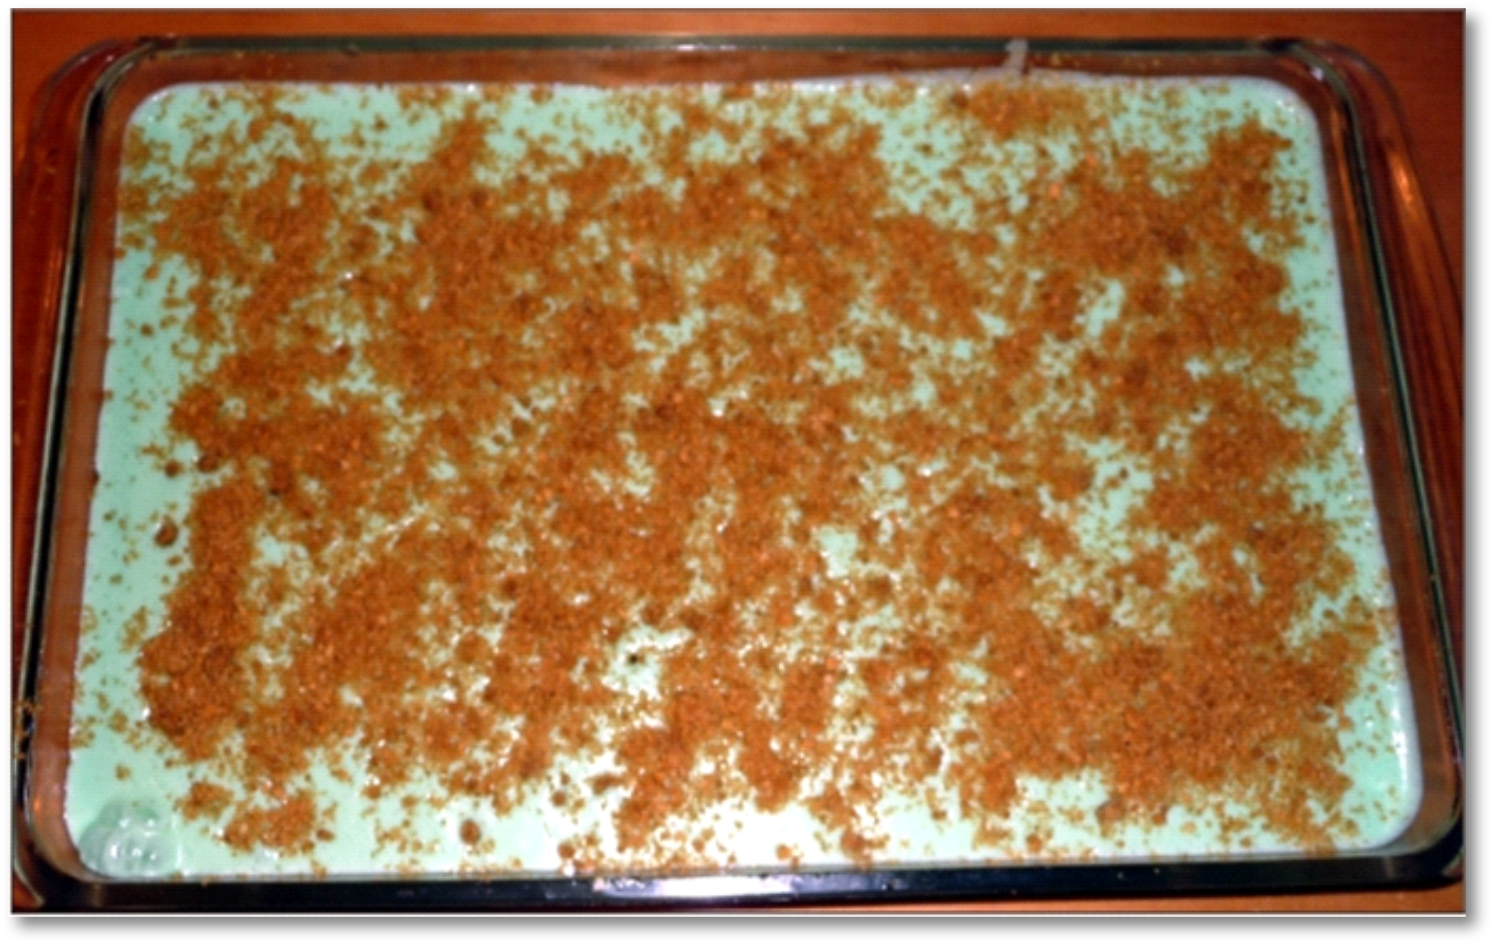
Blend well and then pour onto the graham cracker crust.
Sprinkle the rest of the graham cracker crumbs on top.
Chill a few hours or overnight before eating.
Or not. We dug in after about an hour and it was pretty well set by then, but if you want to make neat squares for serving, let it chill longer.
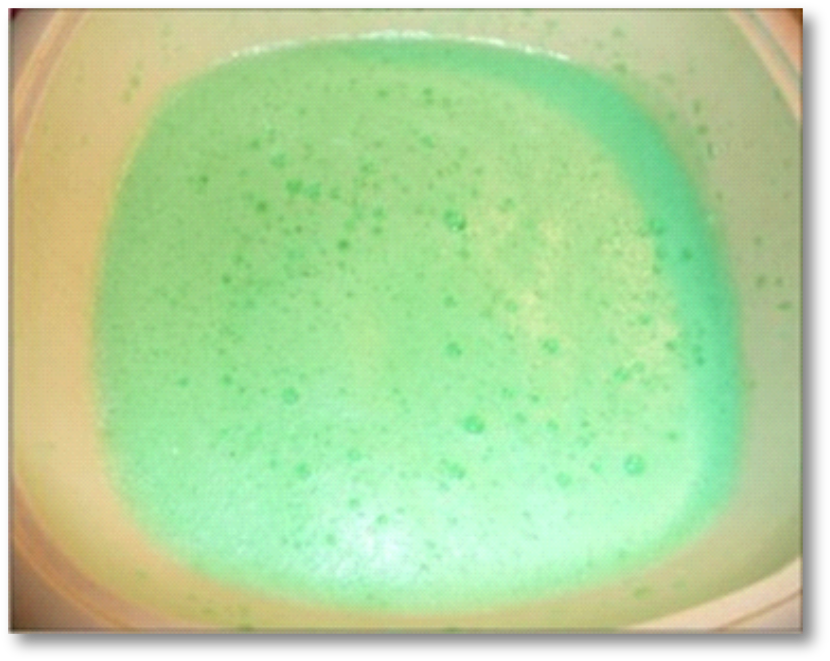
See the Frothy Stuff?
That’s what my mom meant by “whip well.”
These photos are a few years old… this is what “frothy” looks like
After the marshmallows are melted in the hot Jell-O, you want to cool the mixture for at least 1/2 hour.
Then whip the Jell-O and melted marshmallow mixture so it is entirely frothy, with no dark green remaining. Like in the picture here.
This step is important. On my first attempt, I didn’t get it frothy enough, so the dessert looked more like Jell-O than fluff.
When done correctly – like I did the second time – “Green Stuff” is a light, fluffy, fruity dessert, perfect for after a big Thanksgiving or Christmas dinner.
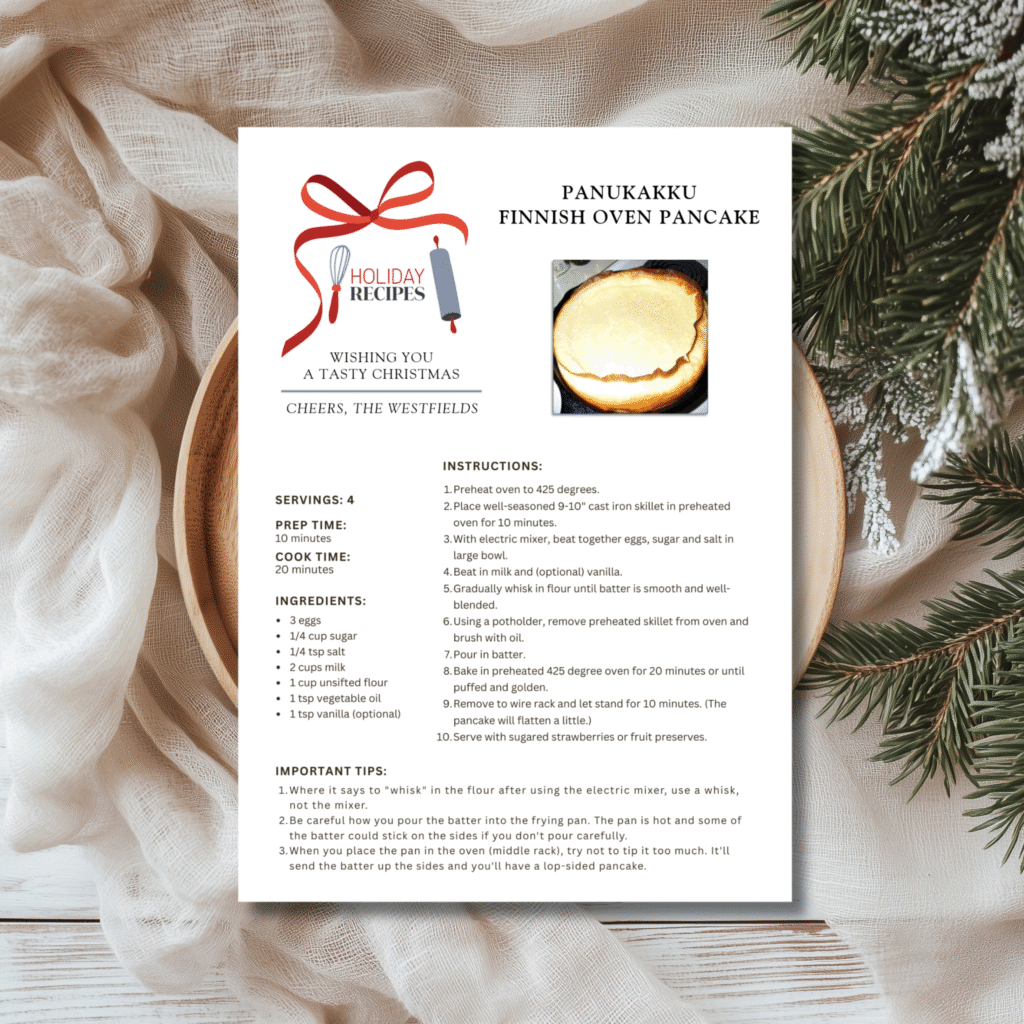
Pannukakku – the traditional Finnish Oven Pancake – was my Grandmother’s version of comfort food
Finnish pancakes are the main comfort foods I remember from my childhood. Actually, it was pancakes and Finnish cardamom coffee bread, but I never did get my grandmother’s recipe for pulla (coffee bread). I do, however, have Mummu’s recipe for Pannukakku, also known as Kropsua, which I will share with you below.
If you’ve never made Pannukakku, you’re in for a treat. This is a custardy pancake that contains ingredients you probably already have in your kitchen, takes very little time to prepare, and bakes in the oven while you go do something else. My kind of cooking.
Pannukakku is a very adaptable dish. I’ve had this pancake for breakfast, dessert and even as the main course for lunch or supper. It is versatile, delicious and… I guess you could say… soothing. It reminds me of my grandmother… and childhood. Christmas, too. That’s when my mom would make Kropsua… on Christmas morning. Finnish oven pancakes are rich and filling – a little heavy for summer fare – but they are perfect for chilly fall and winter days.
I hope you have a chance to try my Pannukakku/Kropsua recipe and get a taste of this traditional Finnish comfort food for yourself. Who knows, it might even become one of your own family traditions.
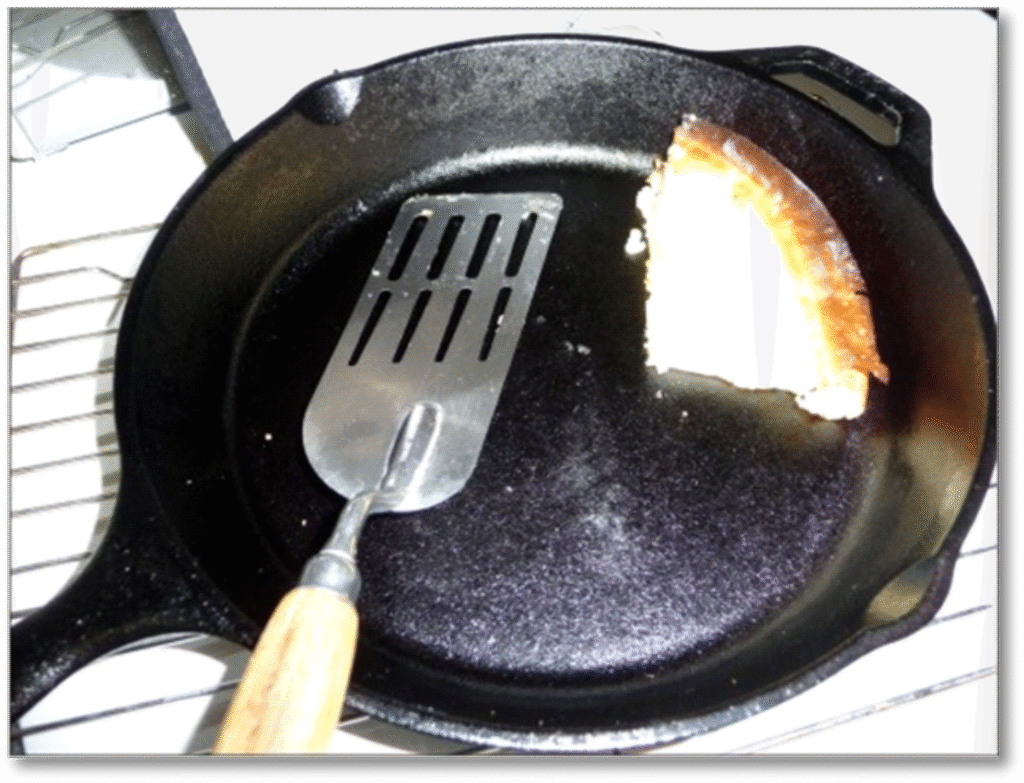
Nothing stuck to my Lodge Logic Skillet
My new cast iron skillet worked perfectly for my oven pancake
The week I wanted to try making Pannukakku for the first time in many years, I received two frying pans from Amazon. One was a Plett pan for the small Swedish pancakes, which I’ve reviewed on another page. The other was this 10 1/4 inch pre-seasoned cast iron skillet from Lodge. This was my first purchase of a Lodge product and now I see why they get such great reviews.
How to make Finnish oven pancakes
3 things to be aware of:
(1) Where it says to “whisk” in the flour after using the electric mixer… use a whisk, not the mixer.
(2) Be careful how you pour the batter into the frying pan. The pan is hot and some of the batter could stick on the sides if you don’t pour carefully.
(3) When you place the pan in the oven (middle rack), try not to tip it too much. It’ll send the batter up the sides and you’ll have a lop-sided pancake, like I did.
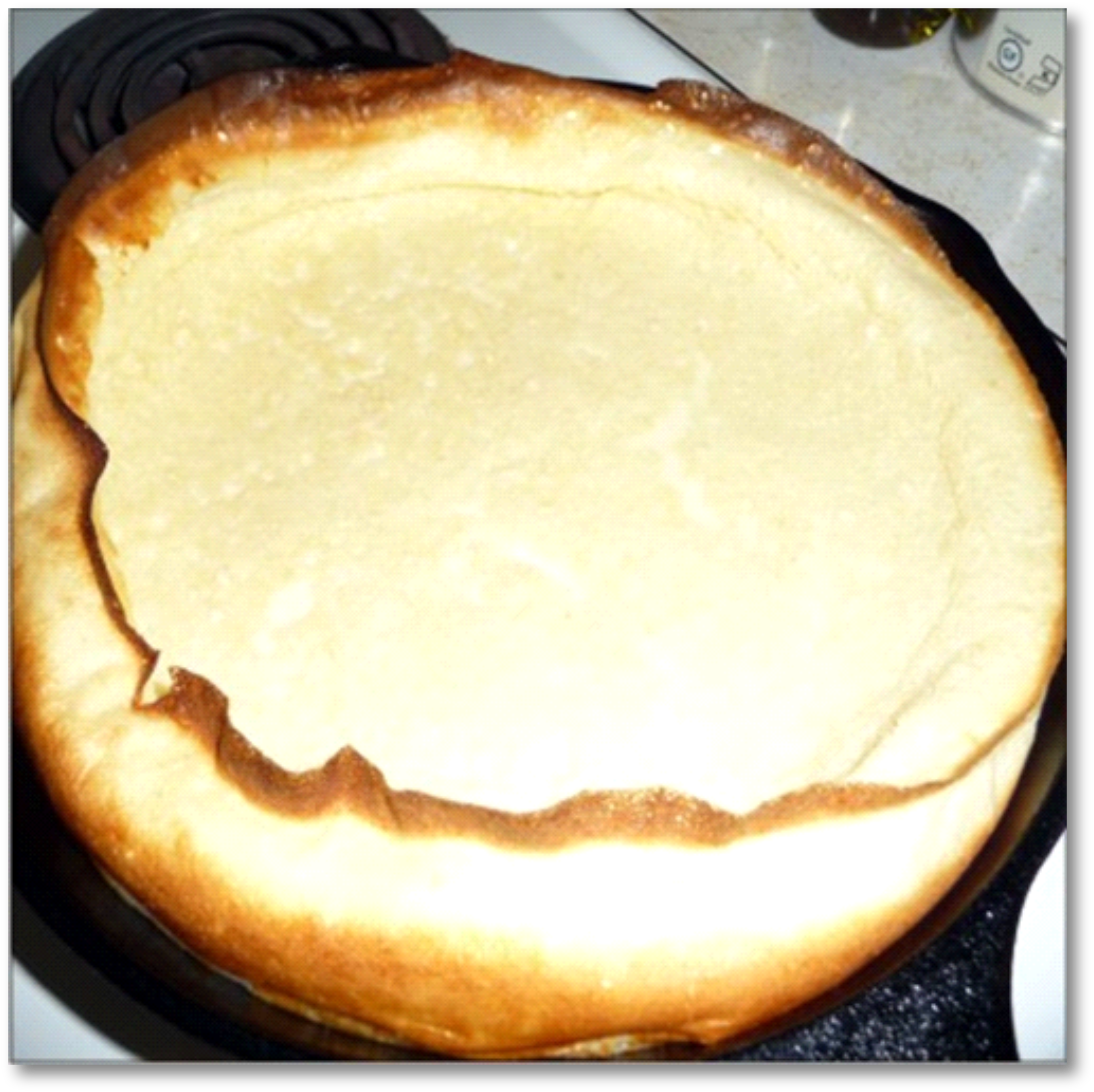
A little lop-sided… but it tasted great
Servings: 4
Prep time: 10 minutes
Cook time: 20 minutes
Ingredients
3 eggs
1/4 cup sugar
1/4 tsp salt
2 cups milk
1 cup unsifted flour
1 tsp vegetable oil
1 tsp vanilla (optional)
Instructions
Preheat oven to 425 degrees.
Place well-seasoned 9-10″ cast iron skillet in preheated oven for 10 minutes.
With electric mixer, beat together eggs, sugar and salt in large bowl.
Beat in milk and (optional) vanilla.
Gradually whisk in flour until batter is smooth and well-blended.
Using a potholder, remove preheated skillet from oven and brush with oil.
Pour in batter.
Bake in preheated 425 degree oven for 20 minutes or until puffed and golden.
Remove to wire rack and let stand for 10 minutes. (The pancake will flatten a little.)
Serve with sugared strawberries or fruit preserves.
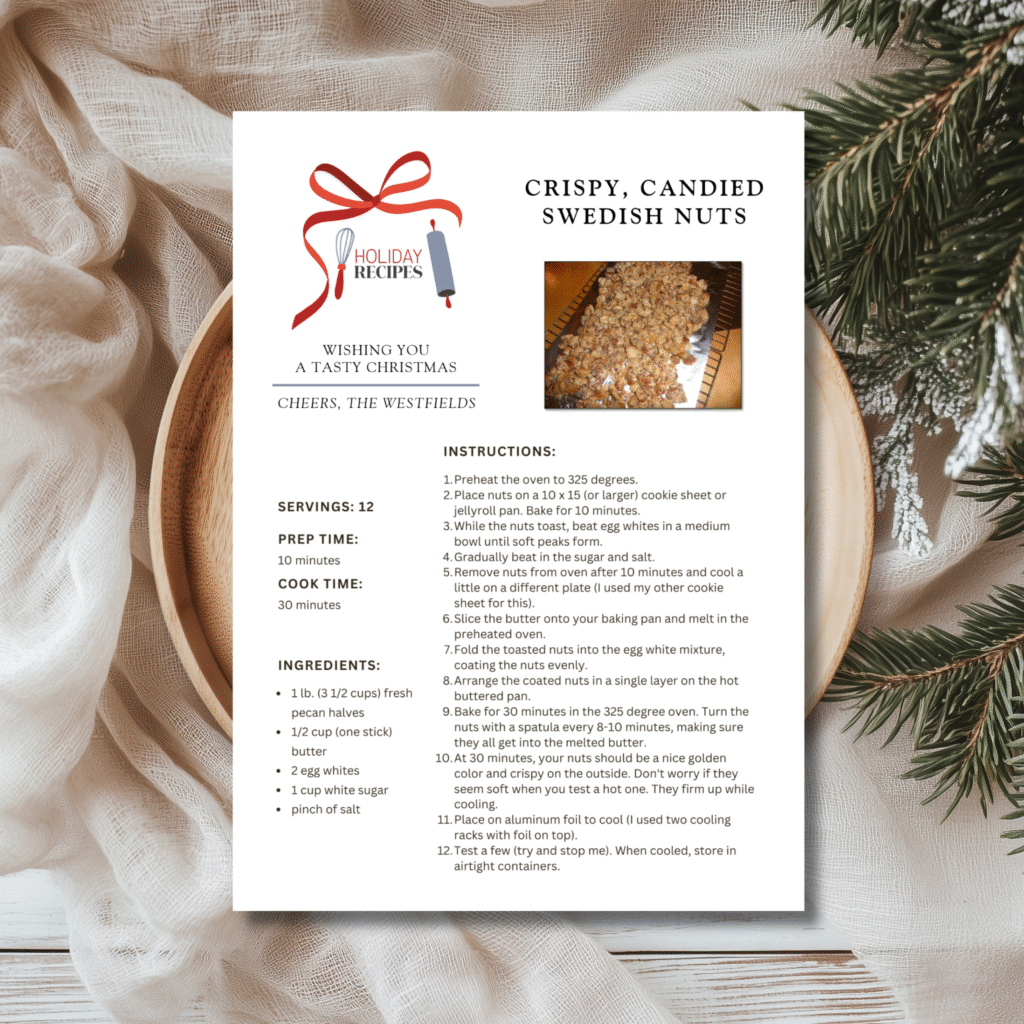
This recipe was made for holiday gift-giving, though it’s delicious any time of the year
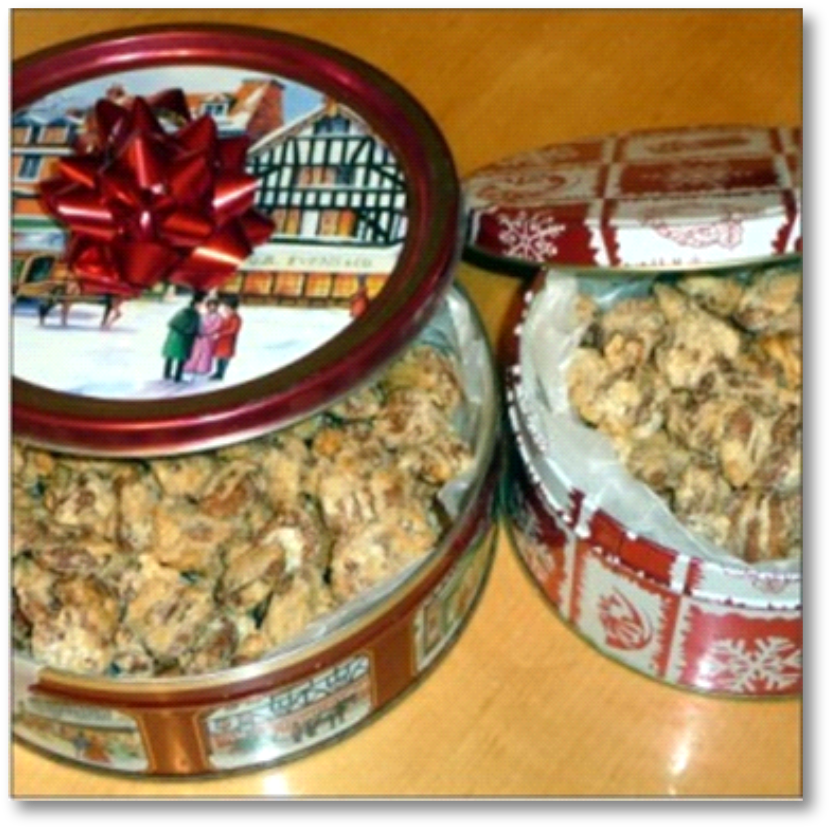
Swedish Nuts Ready for Gift-Giving
If you’re looking for an inexpensive gift to give your family, friends, neighbors or office colleagues, here is a treat that is (a) homemade, (b) delicious and (c) inexpensive to make.
I’m talking about Swedish Nuts – pecans in this case – but any nuts will do.
For a minimal cost, you can create a whopping mound of candied nuts for your potlucks and get-togethers. The same recipe will make 3 or 4 small cookie tins of yummy sugar-coated pecans (walnuts, almonds, mixed nuts) with the very easy-to-follow recipe that you’ll see below.
I am not much of a cook, but I had these nuts for the first time a few Christmases ago and was hooked – very hooked. These Swedish Pecans are so tasty that you’ll have to make a batch for gifts and another batch for the house.
Awhile back our housemate made Swedish Nuts for the first time… and probably every weekend from Halloween to Christmas. We really love these nuts.
Because these nuts were such a big hit at home, I decided to try my hand at making Swedish Nuts to give my neighbors and lawn guy a nice, inexpensive gift for the holidays. My budget was a little tighter then and I wanted to see how many tries it would take me to get this recipe down pat.
Well, the recipe I’m about to share with you is one of those “what you see is what you get” recipes. I followed it precisely… and it came out precisely right. I was, quite frankly, amazed – and tremendously pleased.
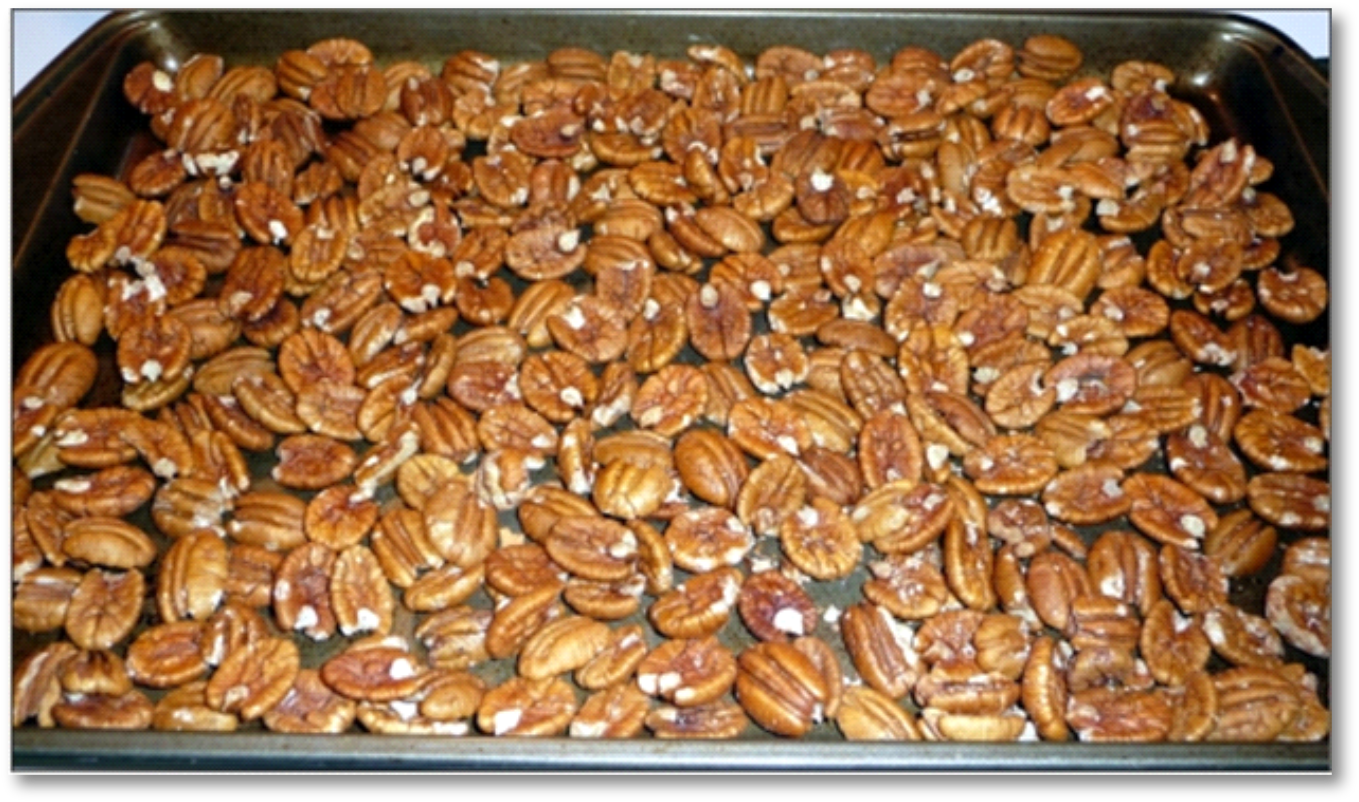
Start with fresh, good quality nuts
If you use roasted nuts, you can omit the first step in the recipe. I personally love using pecans for this recipe, but I’ve had almonds, too, and they make a very tasty Swedish Nuts treat. Once you get the first batch down, try adding 1/2 tsp vanilla extract and/or 3/4 tsp cinnamon. I used organic Florida Crystals sugar, which is not quite white. Your end product will look a little different than mine if you use refined white sugar. My recipe calls for beating the egg whites to a soft peak. Other recipes call for a stiff peak, either before or after adding the sugar.
Place nuts on a 10 x 15 (or larger) cookie sheet or jellyroll pan. Bake for 10 minutes.
While the nuts toast, beat egg whites in a medium bowl until soft peaks form.
Gradually beat in the sugar and salt.
Remove nuts from oven after 10 minutes and cool a little on a different plate (I used my other cookie sheet for this).
Slice the butter onto your baking pan and melt in the preheated oven.
Fold the toasted nuts into the egg white mixture, coating the nuts evenly.
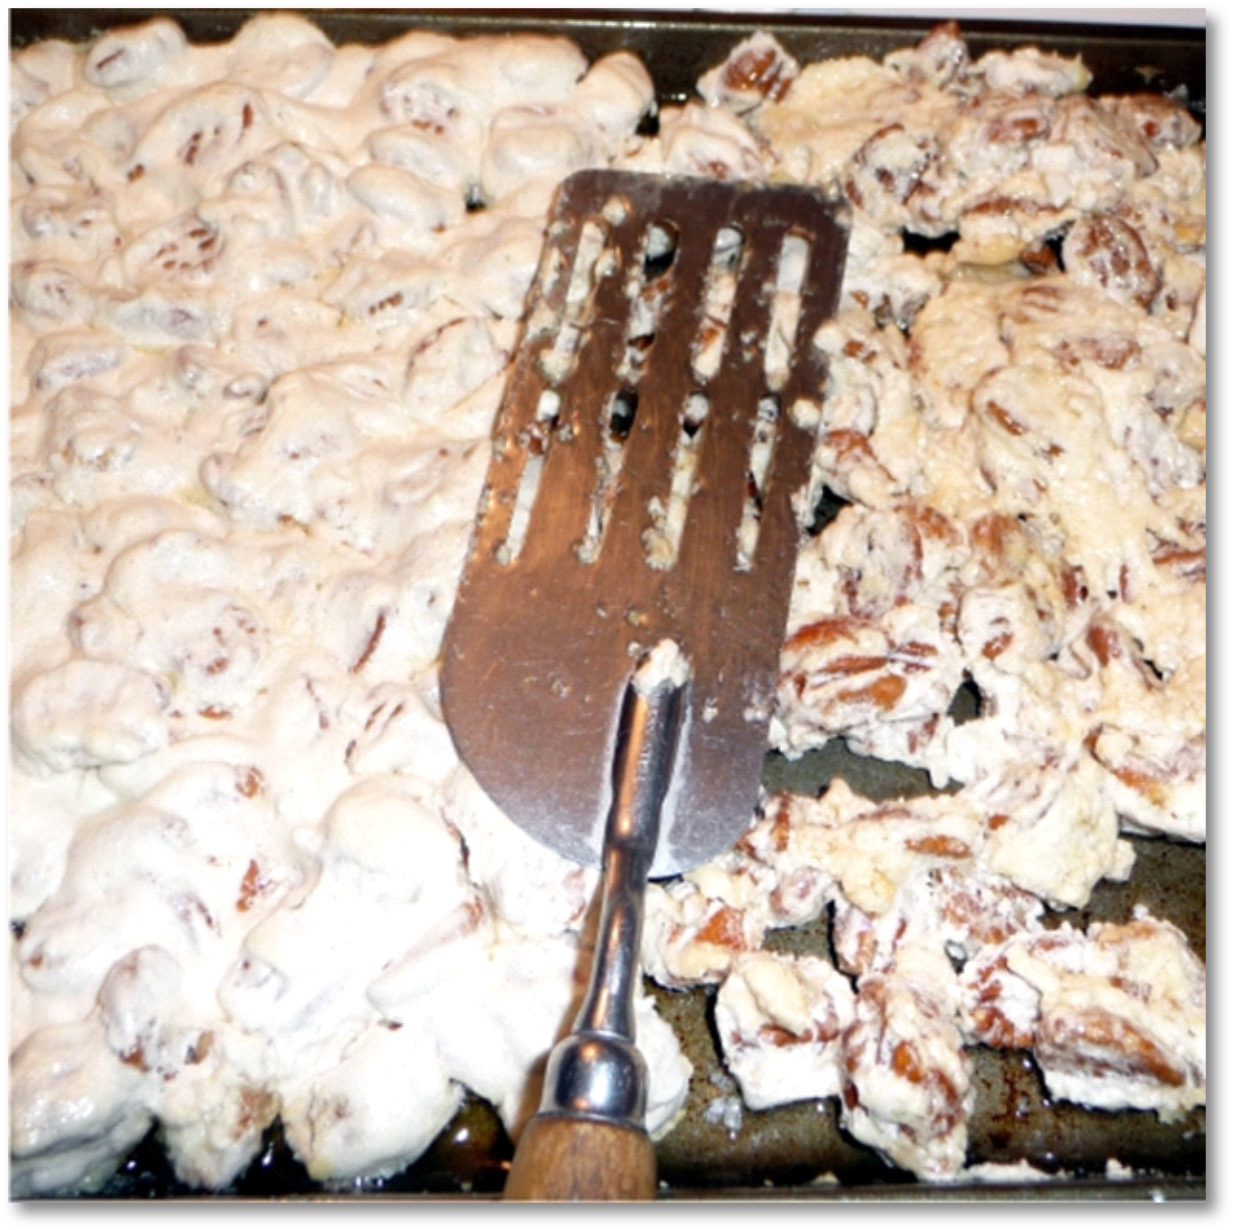
Arrange the coated nuts in a single layer on the hot buttered pan.
Bake for 30 minutes in the 325 degree oven. Turn the nuts with a spatula every 8-10 minutes, making sure they all get into the melted butter.
At 30 minutes, your nuts should be a nice golden color and crispy on the outside. Don’t worry if they seem soft when you test a hot one. They firm up while cooling.
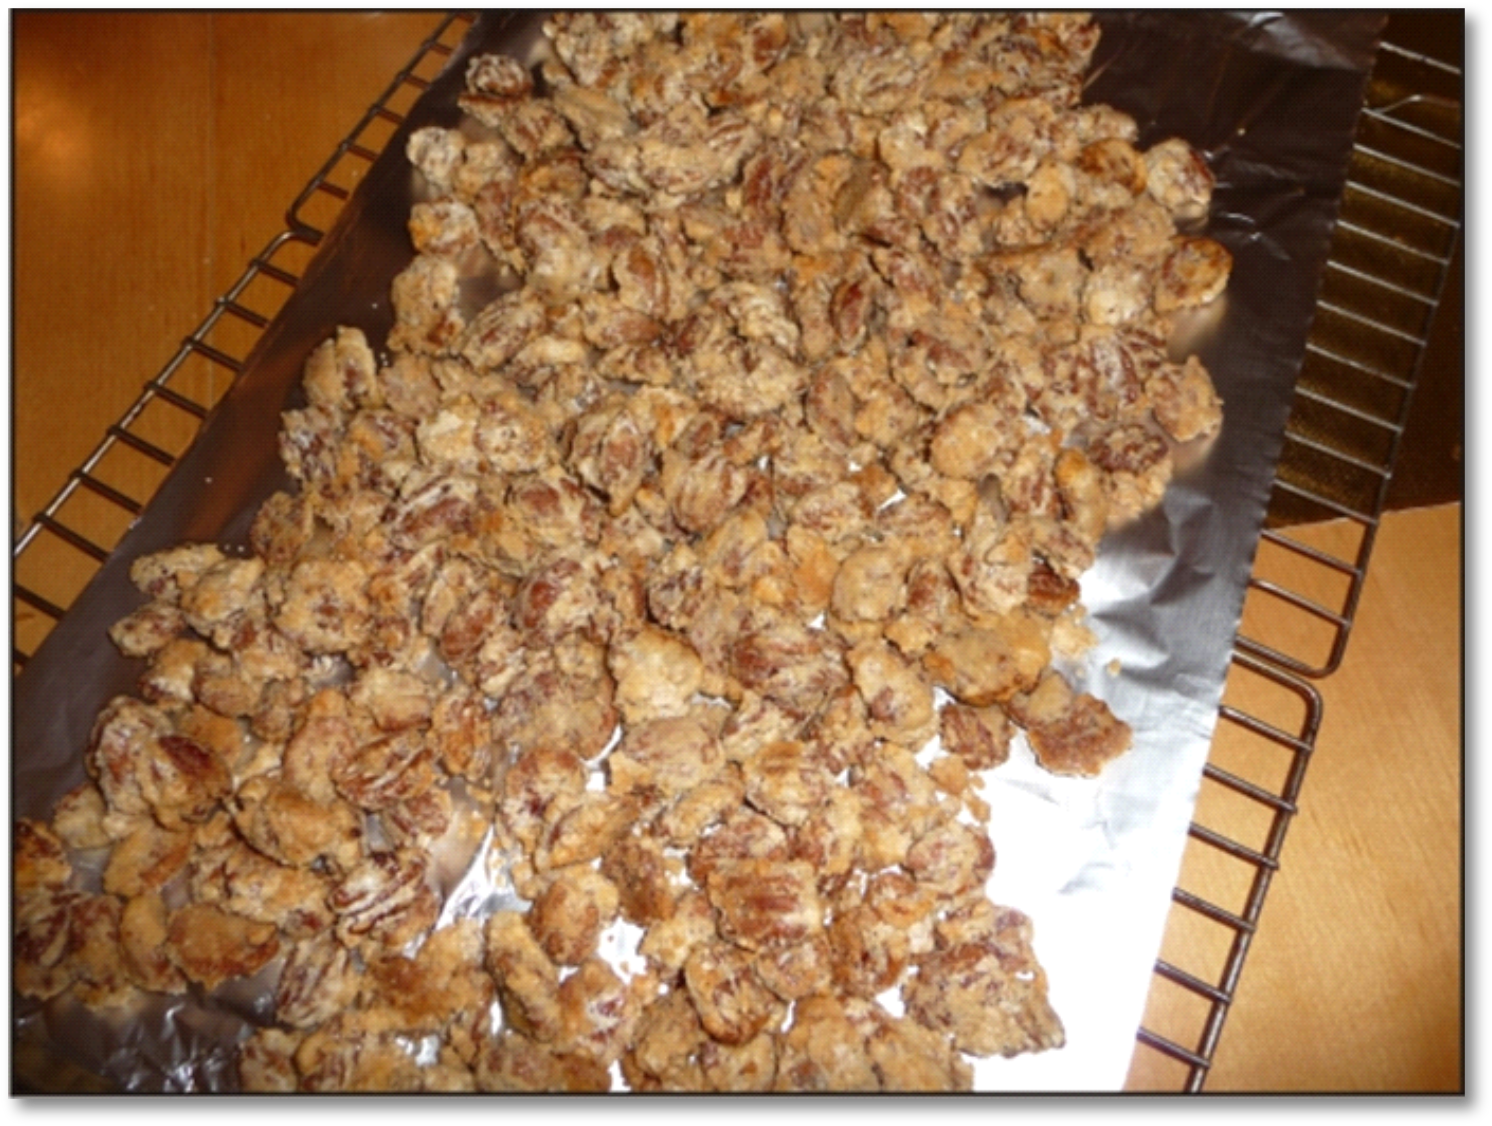
Place on aluminum foil to cool (I used two cooling racks with foil on top).
Test a few (try and stop me). When cooled, store in airtight containers.
Turning the coated nuts overYummy nuts cooling… almost ready to eat and/or store in a tin
For holiday gift giving, Amazon has a variety of Christmas-themed cookie tins. Choose your price, size and design, watching for the 4-star reviews or higher to ensure the tightness of the lids… and the freshness of your nuts.
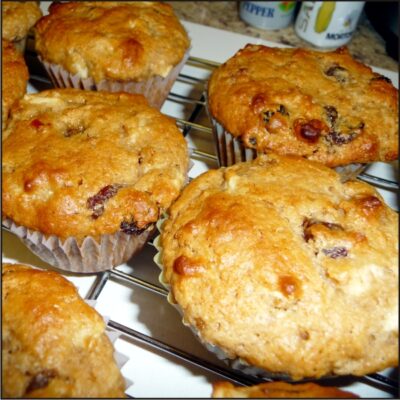
Leftover mincemeat? Make mouthwatering mincemeat muffins!
What can you do with a cup or two of leftover mincemeat? Make the most delicious muffins in the world!
A few weeks before Christmas in 2015, I found a recipe for a very tasty apple dish that used a small amount of mincemeat for the filling. I was left with quite a bit of Robertson’s Classic Mincemeat as a result.
And even though I love mincemeat pie, I’m horrible at making pie crusts so I researched other ways to create a new dish with my mincemeat leftovers.
Here’s the recipe I found for leftover mincemeat: Mouthwatering Mincemeat Muffins. They’re wonderful with a little butter fresh and hot from the oven… plus they’re hearty enough to serve for a quick breakfast with a cup of coffee in the morning. When you make the recipe, feel free to add more or less mincemeat, depending on how much you have left over from other baking. You could also replace the apple with chopped pear. A dash of ginger could be fun, too.
These muffins freeze well, so why not make a double recipe while you’re at it. You won’t be disappointed. They are so scrumptious, you’ll go weak at the knees at your first bite. No kidding.
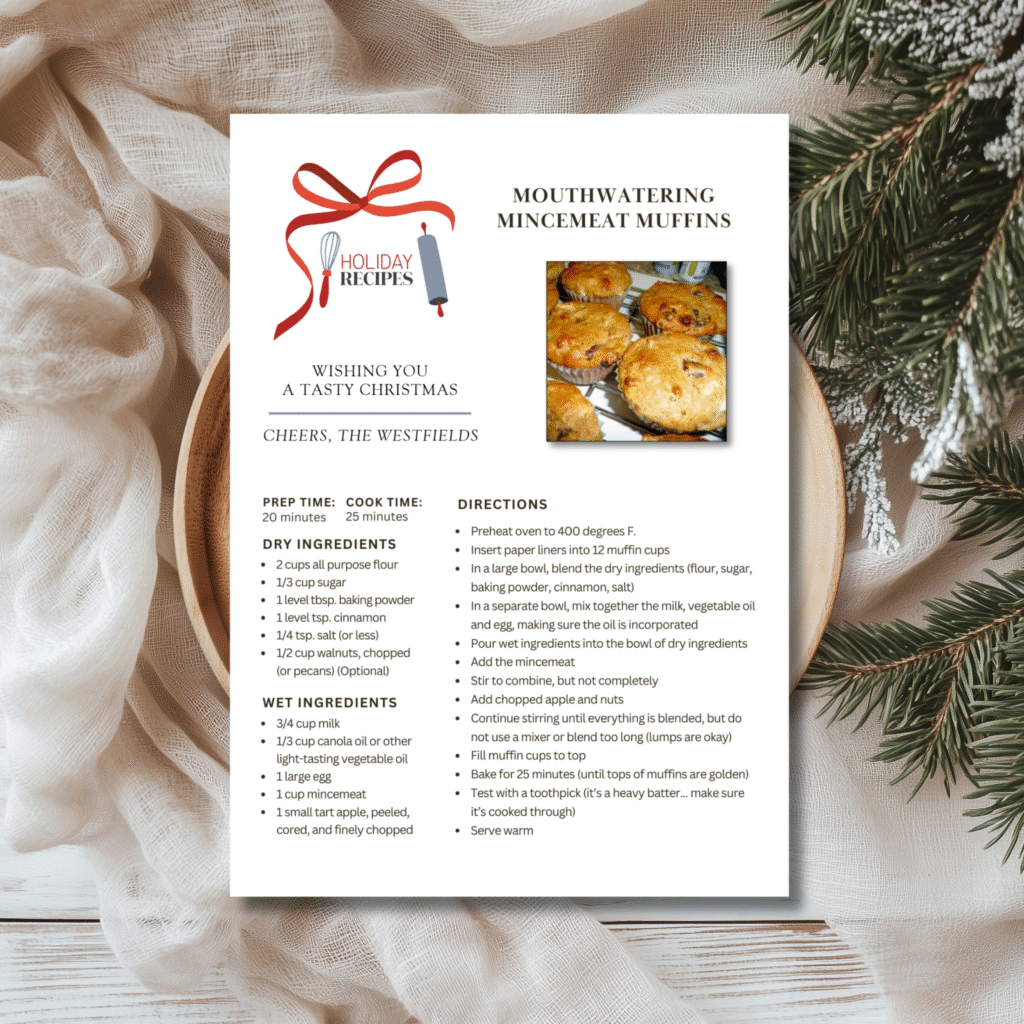
If you’re looking for a good recipe for holiday food gifts
Servings: 12 muffins
Prep time: 20 minutes
Cook time: 25 minutes
Dry Ingredients
2 cups all purpose flour. I used King Arthur
1/3 cup sugar. My preference is Organic Florida Crystals
1 level tbsp. baking powder
1 level tsp. cinnamon
1/4 tsp. salt (or less)
1/2 cup walnuts, chopped (or pecans) (Optional)
Wet Ingredients
3/4 cup milk (I used whole milk)
1/3 cup canola oil or other light-tasting vegetable oil
1 large egg
1 cup mincemeat. Robertson’s Classic is all fruit
1 small tart apple, peeled, cored, and finely chopped
Instructions
Filled muffin cups before baking
Preheat oven to 400 degrees F.
Insert paper liners into 12 muffin cups
In a large bowl, blend the dry ingredients (flour, sugar, baking powder, cinnamon, salt)
In a separate bowl, mix together the milk, vegetable oil and egg, making sure the oil is incorporated
Pour the wet ingredients into the bowl of dry ingredients
Add the mincemeat
Stir to combine, but not completely
Add chopped apple and nuts
Continue stirring until everything is blended, but do not use a mixer or blend too long (lumps are okay)
Fill muffin cups to top
Bake for 25 minutes (or until tops of muffins are golden)
Test with a toothpick (it’s a heavy batter… make sure it’s cooked through)
Serve warm
Recipe Notes
Robertson’s Classic Mincemeat: All Fruit, NO High Fructose Corn Syrup
This is the mincemeat I used for the muffin recipe. It’s all fruit (no meat like in the old days) and really delicious. My grocery store only had mincemeat with high fructose corn syrup, so I was happy to find Robertson’s Mincemeat at Fresh Market. I was pleased to see that Amazon carries it also, now that I’ve moved miles away from Fresh Market.
As an Amazon associate and Clarke Courses affiliate, I earn a fee from qualifying purchases. My Senior Side Hustle is designing for a print on demand site called Zazzle. I receive a royalty on my designs when you click a link to purchase on Zazzle.com. Thanks for visiting… I hope you found the info on my website helpful. –Barbara

